
Laying 20 mm porcelain outside.
Porcelain is unforgiving of shortcuts. Slurry primer, a solid bed, tight joints, and the right jointing compound.
Why it’s different
Porcelain absorbs almost no water, which is the point of it — and also why plain mortar won’t grip the back. Every slab needs a coat of slurry primer on the underside, applied wet and laid straight into the bed. Skip it and the slabs will lift within a winter.
Base and bed
Same base as sandstone: 100 mm compacted Type 1 with falls of 1 in 80. Bed is a full 30–40 mm of 4:1 sharp sand and cement, or a proprietary porcelain bedding mortar. Because the slabs are calibrated, the bed can be laid level and the slabs just tapped in — no working to the top face.
Cutting
A wet-cut diamond blade on a bridge saw or a rail saw. Porcelain chips with a grinder and won’t score-and-snap. Cut with the face up, slowly, and keep the blade wet. Factor the 10% cutting allowance into your order — the calculator does.
Joints
Rectified porcelain takes 3–5 mm joints. Use a two-part resin or a proper brush-in porcelain compound; standard sand-and-cement pointing will crack against a slab that doesn’t move. Clean the face as you go — resin haze is much harder to shift once cured.
Alternatives to a mortar bed
On a roof terrace or over a membrane, 20 mm porcelain goes down on adjustable pedestals or a grid system, dry, with open joints. Ask us before ordering if that’s the job — the slab is the same, the accessories aren’t.
Shop the stone
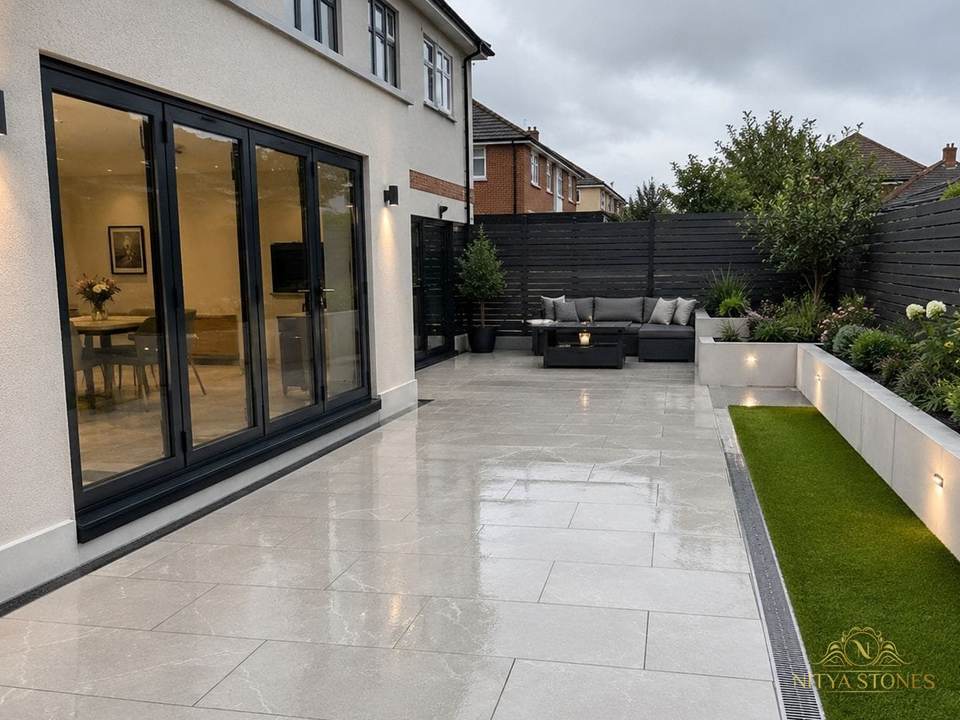 Save 24%
Bodo White
60x90 · 20 mm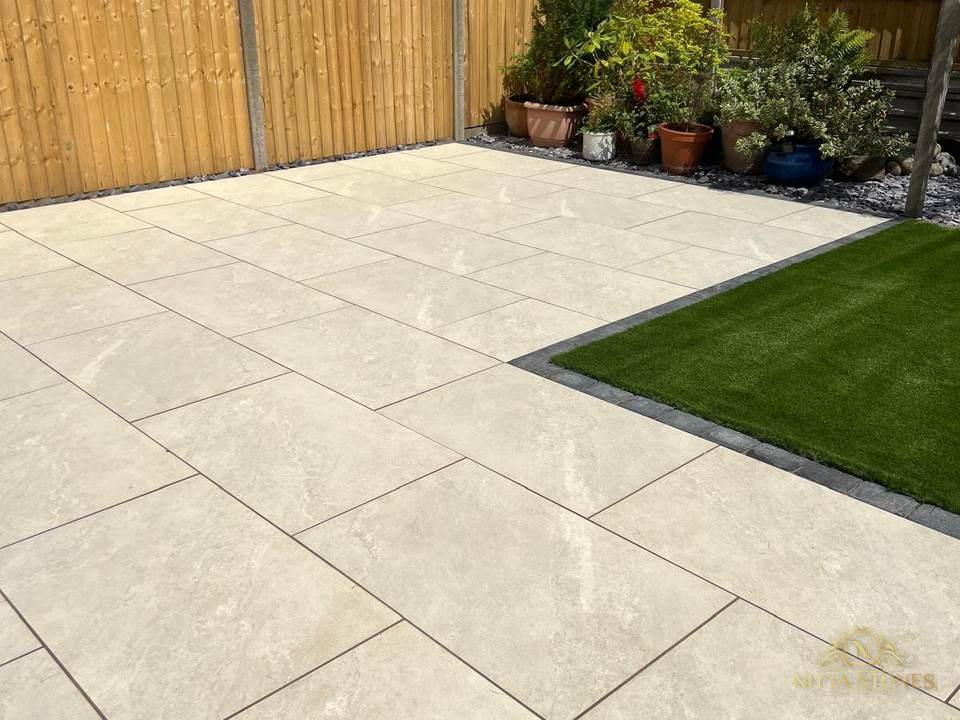 Save 24%
Himalayan White
60x90 · 20 mm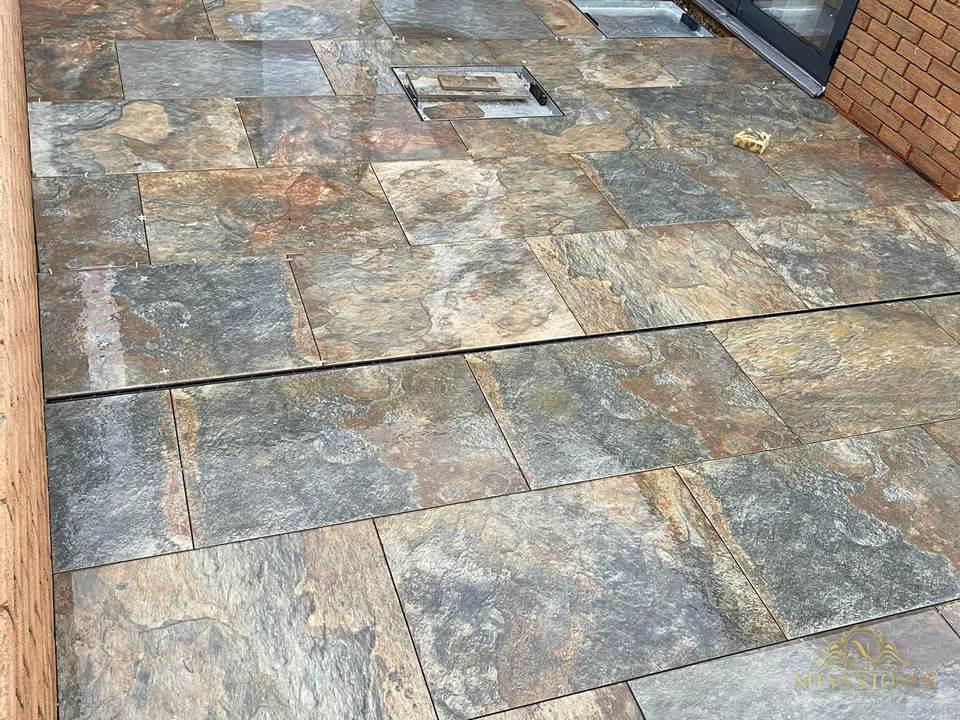 Save 24%
Copper Slate
60x90 · 20 mm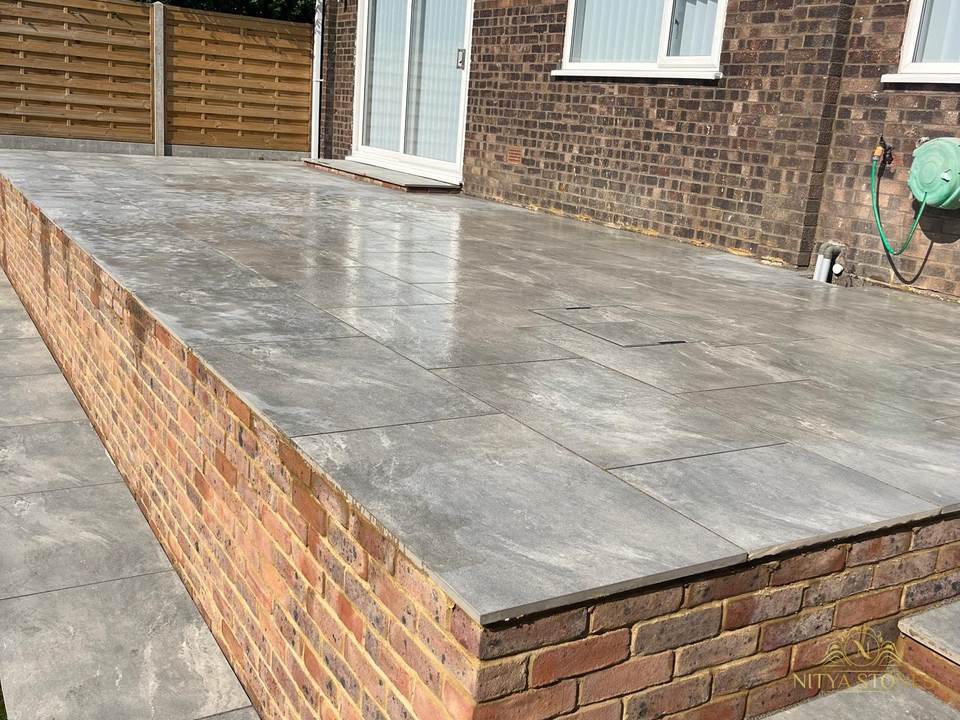 Save 24%