Sale

")

")


")

")

Anthracite (20 MM) Porcelain 600×900 – 28.08 Sq.mt.
Original price was: £25.50.£19.50Current price is: £19.50. + VAT
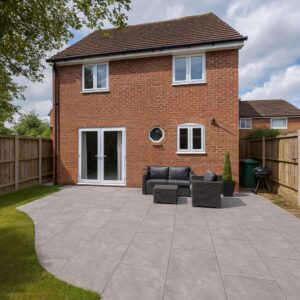
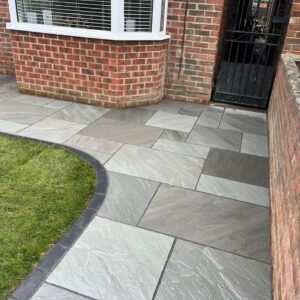
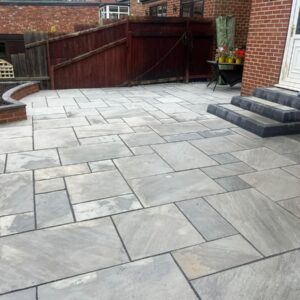
Anthracite Grey Dark is a high-quality porcelain tile that offers a sleek and modern look. With its dark grey colour, it adds a touch of sophistication to any space. The tile is designed with a matte finish, making it an excellent choice for those who want the look of natural stone without maintenance.
Anthracite Porcelain is a high-quality porcelain tile that offers a sleek and modern look. With its dark grey colour, it adds a touch of sophistication to any space. The tile is designed with a matte finish, making it an excellent choice for those who want the look of natural stone without maintenance. This tile is made using advanced manufacturing techniques that create a high-density and durable tile that can withstand high-traffic areas, making it an excellent choice for both residential and commercial spaces. The tile has a non-porous surface, making it easy to clean and maintain, and scratching. This tile is perfect for large spaces and can be used for outdoor applications. Its unique colour and texture make it a versatile option that can be paired with a range of styles, from contemporary to traditional.
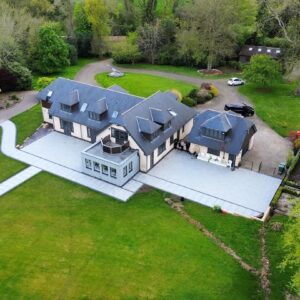
Anthracite Porcelain Paving
- ✅ R11 Non-Slip Rating
- ✅ Low Maintenance
- ✅ Stain, Scratch & Shock Resistant
- ✅ Hard-Wearing & Highly Durable
- ✅ CE Approved
Our Anthracite Porcelain Paving showcases a range of dark tones with a finish that mimics natural slate, adding a sophisticated touch to any garden or patio. Each porcelain slab is designed to replicate the look of natural stone while providing the modern benefits of vitrified paving. The lightly textured, non-slip surface enhances safety for any family garden or larger commercial project, ensuring grip even when wet. These durable porcelain slabs are suitable for patios, pathways, and driveways, and their R11 non-slip rating makes them ideal for use around swimming pools or water features. Outdoor porcelain paving is robust and long-lasting, with a stain and scratch-resistant surface, making it the perfect low-maintenance option. The non-porous slabs prevent moisture buildup, reducing the risk of moss or algae growth. No need to worry about rainwater or spills! These outdoor tiles can be easily wiped clean with a damp cloth, saving you time and effort. Porcelain is also resistant to fading, maintaining its original color even under intense heat and sunlight during the summer months.
| Delivery | Free delivery available to most mainland UK. Delivery fee will be charged outside free delivery areas. See our delivery section for more information. |
| Texture | R11 Matt anti-slip |
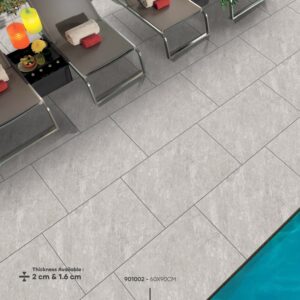
| Thickness | 20mm |
| Handcut Sizes | 600x900mm |
| Pack Size | 21.6 m2 pack contains 40 slabs; 15m2 pack contains 27 slabs; 12m2 pack contains 22 slabs; 10m2 pack contains 18 slabs; 8m2 pack contains 14 slabs; 5m2 pack contains 9 slab. The quantity will vary depending on pack size. |
| Weight (kg) | The full pallet is 1000kg |
| Coverage | 21.6m2 the full pallet (gaps are not included) |
| Material | Vitrified Porcelain / CE Certified |
- 1 Pallet = 40 Slabs
- 1 Slab = 0.54 Sq.mt.
- Total Pallet Size= 21.60 Sq.m.
| Dimensions | 21.60 cm |
|---|---|
| THICKNESS | |
| SIZE & PACKS |
- Water Absorption: ≤ 0,5%
- Bending Strength: ≥ 35N/MM2
- Linear Thermal Expansion Between 20° AND 100° C
- Thermal Shock Resistance
- Frost Resistance
- Colors Resistance to Light
Related products
- Outdoor p
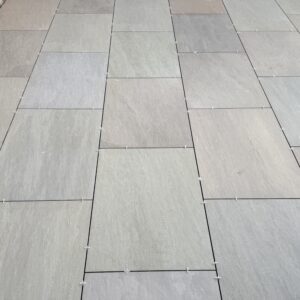
Kandla Grey (20mm) Porcelain 600×900 – 21.60 Sq.m.
Original price was: £24.50.£19.50Current price is: £19.50. + VATKandla Grey Porcelain is a high-quality porcelain tile that mimics the natural look of Kandla Grey sandstone. With its subtle shades of grey and natural stone-like texture, this tile is a great choice for those who want the look of natural stone without maintenance.
- 1 Pallet = 40 Slabs
- 1 Slab = 0.54 Sq.m.
- Total Pallet Size= 21.60 Sq.m.
- Outdoor p
Crystal Gris Porcelain 600×900 (20mm) 21.60 sq.mt.
Original price was: £25.50.£19.50Current price is: £19.50. + VATCrystal Gris Porcelain Tiles are the epitome of clean and crisp design. These tiles reflect natural light beautifully, making your space feel more open and inviting.
Price Mentioned is for 1 Pallet Equivalent to 21.60 sq.m.
- Outdoor p
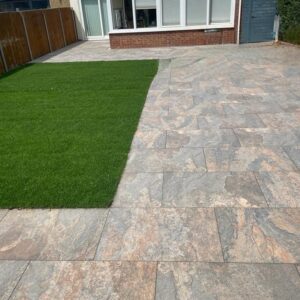
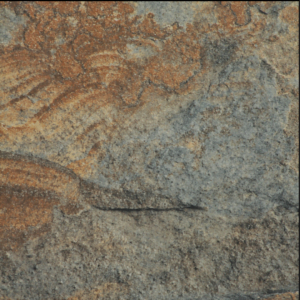
Rust Slate Porcelain 600×900 (20mm) 21.60 sq.m.
Original price was: £25.50.£19.50Current price is: £19.50. + VATRust Slate Porcelain Tiles bring the warmth and texture of natural slate to your outdoor area without the maintenance hassle. These tiles feature earthy tones and rich textures, providing a rustic and Inviting amblence.
- Outdoor Porcelain
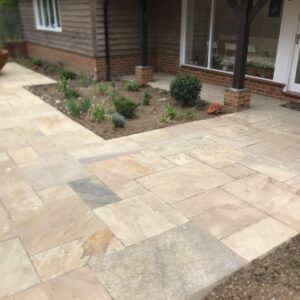
Fossil Mint (22mm) Mixed Patio Pack Size 18.19 sq.m.
Original price was: £22.20.£19.50Current price is: £19.50. + VATIntroducing the Fossil Mint Mixed Patio Pack Sandstone, a captivating and versatile natural stone option for creating stunning outdoor spaces. This patio pack features a mix of warm, earthy tones with subtle hints of mint green and golden hues, reminiscent of the fossils found in ancient sea beds.
Product Specification:
600×900=16
600×600=16
290×600=16
290×290=12
Total=18.19 Sq.m. - Outdoor p
Raj Green Porcelain 600×900 (20mm) 21.60 Sq.m.
Original price was: £25.50.£19.50Current price is: £19.50. + VATRaj Green Porcelain is a high-quality porcelain tile that is designed to look like natural Raj Green sandstone. This tile has a beautiful, earthy green and brown colour palette that mimics the natural variation found in Raj Green sandstone, making it a popular choice for those who want the look of natural stone without maintenance.
Price Mentioned is for 1 Pallet Equivalent to 21.60 sq.m.
- Outdoor Porcelain
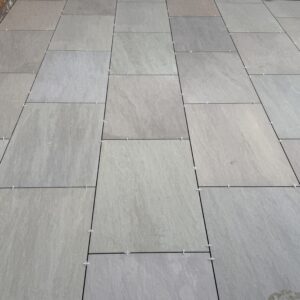
Kandla Grey (22mm) Sandstone Mixed Patio Size 18.19 sq. mt.
Original price was: £22.20.£19.50Current price is: £19.50. + VATOur high quality Kandla Grey Sandstone Paving Slabs are truly an unparalleled choice, delivering a perfect mix of versatility, aesthetics and practicality.


Reviews
There are no reviews yet.